Rope-end finishing, just a matter of style

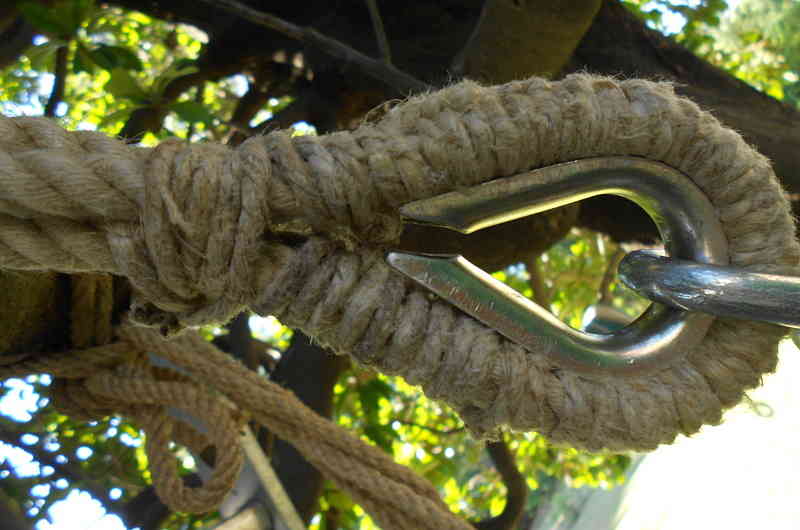
Natural fibre ropes fixing hammocks under magnolia tree in front of the villa
Natural ropes brown colour fits perfectly out in the garden, unless their ends are finished improperly.
Natural fibre ropes made in Manila, Sisal, Coir and few more fibres react differently to water and weather conditions, nevertheless from the style point of view all fit perfectly outside; brown fibre ropes are just one more natural element out in the garden.
How to stylish finish old-fashioned Manila rope ends
Manila ropes fits very well out in the garden even when aged turn their colour from light to dark brown; to me natural fibre ropes are the real ropes and looks like the only one fitting in the garden, alternatively I’d use the white and blue synthetic ropes that may look nice only when very old they turn into a dark colour loosing the navy style very unsuitable in the garden.
I like very much colours and style of natural fibre ropes, but the one thing may alter dramatically their final look is the rope end finishing; actually it’s not unusual to see ropes managed with with a long frayed end (that’s the most improper way) or tapped with black pvc wrapped around (very easy and basic) or with a knotted end or even with a metal or plastic fixing. Mentioned material are used to make the finishing quick as with natural fibre ropes it isn’t possible to use flame normally applied to synthetic one … as the fibres will go immediately on fire!
Whipped end a stylish way to manage rope end
The finishing I normally use for outdoor ropes is the whipped end … as for the eye-spliced end that I like much more, I don’t have the right know how…so far!
The rope whipped end process here explained in 5 steps, it’s very easy and no special tooling is needed so everybody willing to go beyond the standard “quick and easy” not to say ”quick and dirty”, can do.
Pictures reported below are taken over the melting marble stone, laying on the lawn in front of the villa, used back in early the XIX century to produce pasta in the family factory, the rope is the one used to fix the hammock under the magnolia tree.
step 1

Frayed end
The rope comes with long frayed end, wrapped with paper tape as sold from the dealer in the next village, a thin twine lays on it forming a loop.
step 2

Wrapping the twine
The twine is tightly wrapped around the rope and the twine loop, starting from the rope end and moving backward towards the lace, depending on the rope size, 2 or 3 cm wrapping lenght it’s enough.
<
step 3

Fixing the twine
The twine is tightly wrapped around the rope and the twine loop, starting from the rope end and moving backward towards the lace, depending on the rope size, 2 or 3 cm wrapping lenght it’s enough.
step 4

Pulling the twine
When it’s time to fix the twine, just insert it on the lace as shown above and finally pull the twine by the other end (the one next to the rope end) so that the lace will move under the wrapped twine fixing it tightly.
step 5

Final cutting
The process come to its end with some finishing operations, cutting both twine ends and the rope end, so the rope is ready to perfectly
Conclusion
That’s all! Now you can use any natural fibre rope and twine to stilysh your garden, going beyond the standard “quick and easy” methods and using suitable materials; so don’t hesitate to give it a try, leave a comment and share your ideas.

Comments are closed.